Despite a run-in with COVID, I had a good Christmas Week. I hope you did as well and without illness. It is very important that we all take a break from the regular routine on occasion to be with our loved ones. There is also a nice benefit from personal time to have some fun experimenting with neat, techie things.
This recent Christmas, the Raspberry Pi gave me a bit of joy. These hobbyist type of project kits always interest me. My experience with this specific device has only been through others and online material. That makes it worthy of a little time. Who knows, maybe this can be a mini server for a database1 or an arcade machine2.
For those that are unaware, the Raspberry Pi is a complete, computing platform in a compact package. It has been around for a while now. You can read about the history here3. The Raspberry Pi Foundation is what makes a lot of this possible, but the community is what keeps interest high. It also shows what creativity can come out of a little bit of geek-ware. People use it in numerous ways, such as putting together a weather station4.
Building one is simple and fun. The instructions and support available through Raspberry Pi’s online presence5 are great. You will not be without good direction and experience if you research using that channel alone. The base information on the website is a great place to start.
Getting underway, it has been a while since putting together a machine from components. Memories of anti-static bands, sheet metal cuts, incorrect screws, OS install issues, bad drivers, and odd tools I cannot find, still wake me from sleep into a panic. I am pleasantly surprised at how organized, direct, and documented these kits are now.
Let us now look at the parts on my desk to start.
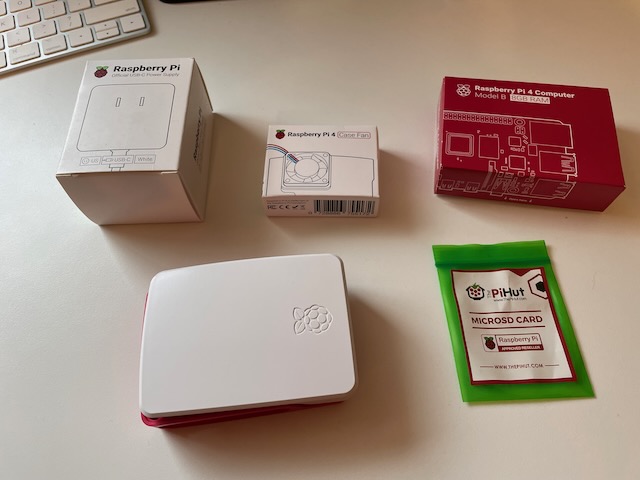

Here is a list of what I have shown:
- The stylish case, complete with top and bottom
- Case fan and heat sink (note: fan is optional for system build)
- The system board is impressive, which has everything on it except storage. I went with the Raspberry Pi 4 Model B with 8GB RAM.
- MicroSD card with system install utility on it.
- Power supply
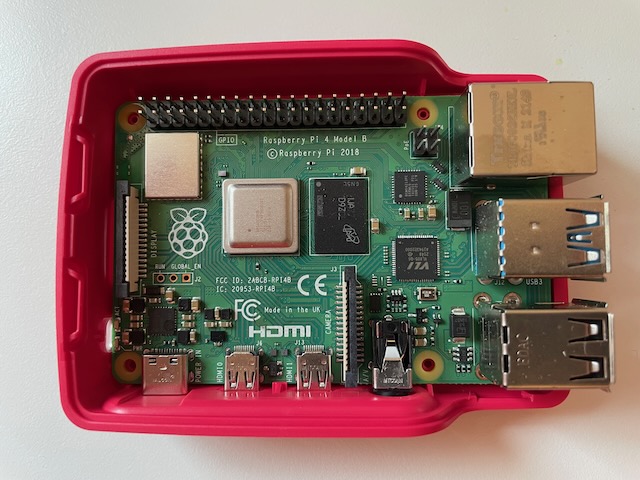
Putting it together does not look difficult. There are no tools needed nor is there a need for any screws or fasteners. Given the plastic case, my memories of old sheet metal injuries are a thing of the past. It is a bit like building with nerdy-Lego. Here are a few pictures of the build:
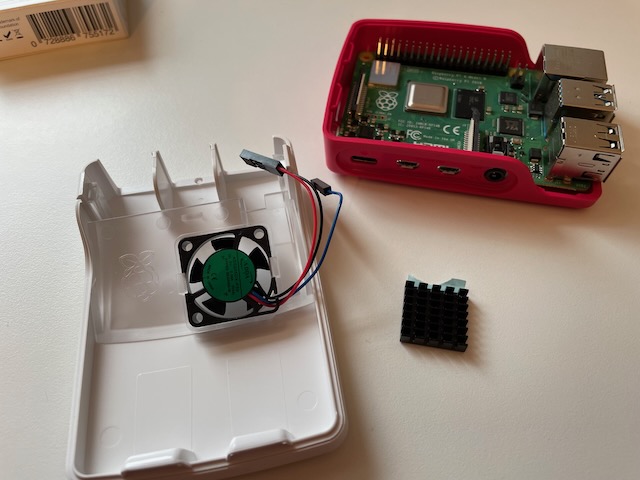
For the case fan, you do need to know the pin configuration. Do not forget about the heat sink when installing a fan. Just follow the simple video up on the Raspberry Pi Site.
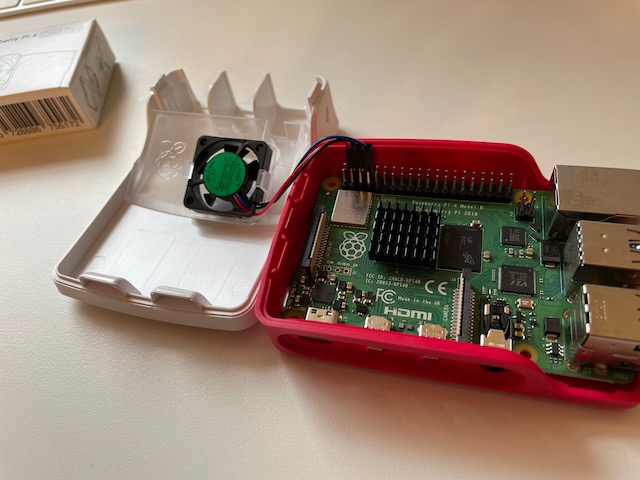
After the very quick build, you then plug in the monitor (the board uses Micro HDMI), keyboard, and mouse. Finally, plug in the power supply and the device comes to life! Just a note, the fan is a little noisy, but I understand that there is controller software available to lower the RPMs.
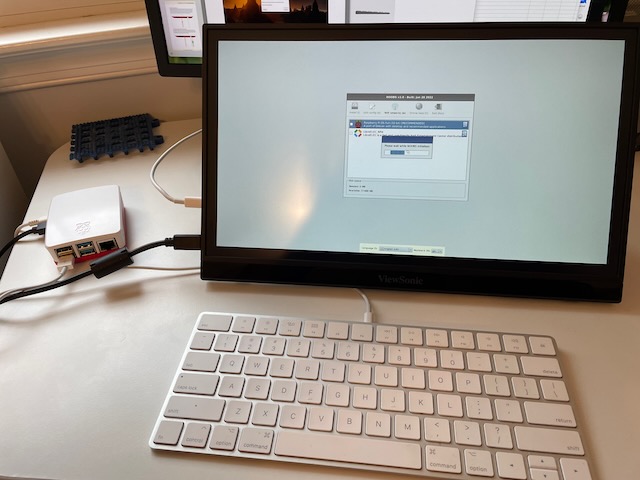
Now adding an OS, I went with Raspberry Pi OS. It is a well featured (and seemingly lightweight) OS from my initial research. This is a Debian-based environment which should be fine for a good, experimental playground. The installation process is almost 100% automated.
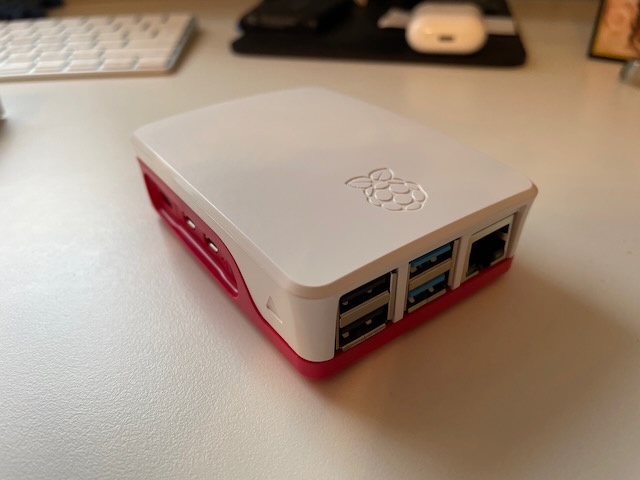
After all is complete, here is what we have:
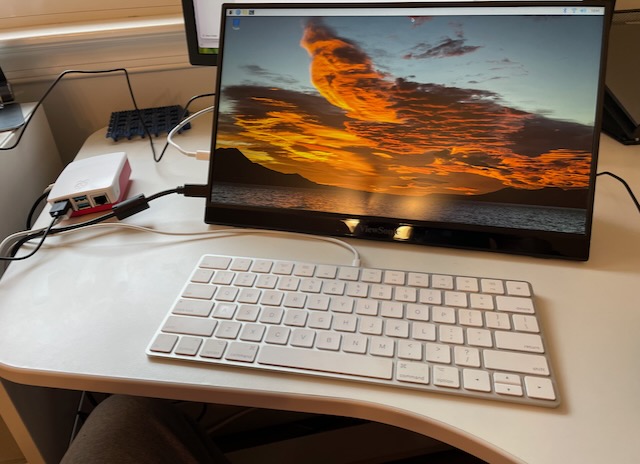
This must be the most painless machine build I have ever done. Yet, it is a fun experience. I can fully see this being an educational instrument to help spark a new interest in technology. Parents and children should be a perfect pair to work on this for different learning experiences. Who knows what the future holds for anyone willing to read, learn, and experiment!
I did not spend too much time in the desktop. I toyed around with it for a little time (plenty of available OpenSource games to download) then went to command line interface mode. I would say desktop performance is not snappy but fast enough for normal use. Given the inexpensive price, what should one expect? It is a very impressive packaged system!
My initial thought is to use this in headless mode (i.e. without a monitor, keyboard, and mouse) for my use. I already setup the ssh interface quickly and can access via my other machines without issue. That is going to be good enough for me to start experimenting6 in 2023. Until then, I am happy to have done this so quickly and without configuration stress.
If you do decide on building a Raspberry Pi, be patient. Supplies are a bit constrained still. Do not fall for a price hike just to get the kit. Patience is still a virtue.
Thank you and Happy New Year! May your 2023 be Blessed!
References
- Emmet. Setup a Raspberry Pi MYSQL Database. Oct 28, 2022. Retrieved from: https://pimylifeup.com/raspberry-pi-mysql/
- Kelvin Zhang. How to Build a Raspberry Pi Arcade Machine. Medium. May 27, 2020. Retrieved from: https://medium.com/swlh/how-to-build-a-raspberry-pi-arcade-machine-3de4df2894c6
- Raspberry Pi. Wikipedia. Retrieved From: https://en.wikipedia.org/wiki/Raspberry_Pi
- Build your own weather station. Raspberry Pi. Retrieved from: https://projects.raspberrypi.org/en/projects/build-your-own-weather-station
- Raspberry Pi Official Page. Retrieved From: https://www.raspberrypi.com
- Ash Hill. Best Raspberry Pi Projects: December 2022. Tom’s Hardware. Retrieved From: https://www.tomshardware.com/features/best-raspberry-pi-projects

One response to “Building my Christmas Present – Raspberry Pi Fun”
[…] is also the possibility of using my Raspberry Pi 4. That might be a later experiment. I will keep that in mind. The Pi is good hardware but is not […]
LikeLike